Showing posts with label DIY. Show all posts

Thursday, December 19, 2013

Pretty gift wrapping DIY


I just love giving gifts! It's so much fun to search for the perfect gifts for your friends and family, and cute wrapping is just as important as the gift itself isn't it? I love how DIY touches make the gift so much more personal, yet it's so simple to do. Here are a few fun ideas. 


Add a paper snowflake to your wrapping. 


How do you wrap your gifts? Do you do something special or just buy Christmas wrapping paper? These would be great for birthday gifts as well for those who do not celebrate Christmas. 


Wednesday, December 11, 2013

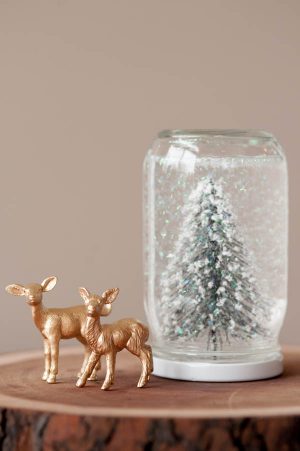
Christmas Decor DIYs to Try

Christmas is only two weeks away, so in the midst of all the preparation (or in my case dreaming of Christmas preparation) I hope you find some time to make some of your own Christmas decor. Isn't it just so special to make your own decoration? It really makes the house feel warmer. Here are a few ideas I would love to try...


Herb votive - just wrap them around the votive 


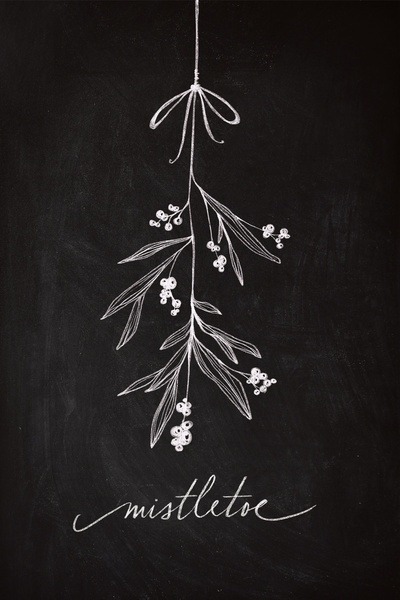
Some chalkboard art 


Tuesday, October 29, 2013

DIY to Try


Some fun DIY to try,

1. White dipped baskets. There is no explanation on the link, but these are simple enough to make. You just need some nice baskets and paint. 


Which would you try? 


Tuesday, October 15, 2013

DIY Magnets


Yesterday I was looking at our fridge, and thought to myself realized how ugly the magnets make it. So I decided to do a little DIY and make them pretty. It’s really simple, and makes a great difference on your fridge. All you need is extra fabric scraps, glue, and some thick paper.

This is what I did:

I took all the magnets we had and cut them up into different sizes. I then covered them with thick paper, this way nothing could be seen through the fabric.


I collected a few different fabric scraps that would go well together, and cut them up the same size as the magnets.


Then all that's left to do is glue the fabric on the pieces, wait a few minutes for it to dry and decorate your fridge. 

That's it! Isn't it really simple? But believe me it makes a big difference on your fridge.


Monday, October 14, 2013

DIY Coasters


I love simple DIYs, the ones that are just fun and easy. These DIY coasters are just that.  They are simple, but can add a touch of color to your home really quickly. Our rental has white walls, and since we do not plan on staying here for a long time there is no point in painting the walls. So I try to add color to the space using small details such as this.
Here is how I did them:


 I bought wooden coasters at the hobby store and used the acrylic paint I had at home which included different shades of blue and gold
I painted all the borders of the coasters gold, as I wanted something to make then uniform. I choose different patterns for each one - chevron, stripes, square pattern and ombre.
Starting with the stripes, I drew diagonal stripes and added the paint using two different colors.
To make the chevron pattern, I used a ruler to pencil in the template since I wanted all the points to be in the center of the coaster. After that I used to different colors to fill in the pattern.


For the squares pattern, I measured the size of the coaster in half, and then divided each half by three. Since it is a square coaster I did nine diagonal lines and nine horizontal lines. I really wanted to have a lot of different shades in this one, so I mixed the different blues I had and filled in a few small squares with each shade. I didn't worry about being exact since you can cover up the mistakes you made with the next color.

The ombre coaster is by far my favorite and it was the simplest one. You don't even need a pattern for this one; I just started with the darkest shade in one corner and went up using lighter shades of blue.


Disqus for Simple Comforts